I have been asked this several times by clients new to the WordPress platform, so I thought I’d publish a tutorial for the convenience of everyone. Text- or word-wrapping, in my humble opinion, makes for a more visually-appealing post. If coupled with the proper use of white space around the image, text and photos on a post can work seamlessly together and bring better reading experience to your site visitors. This revolutionary thing is made easy to do by WordPress, with its built-in
This tutorial assumes that you already have an image in place, and are just having trouble making the text wrap around the image. So, let’s get to business:
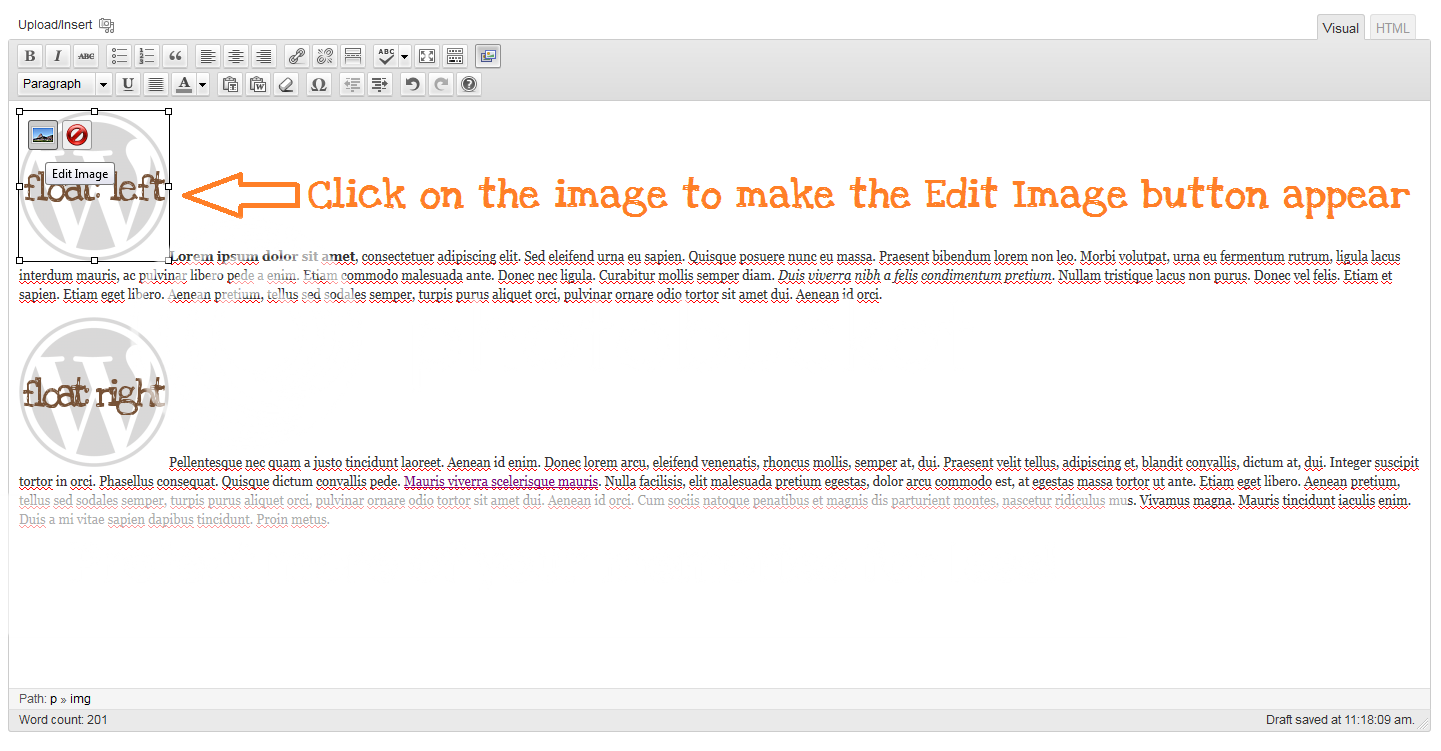
- Click the image to make the Edit Image button appear (the Delete Image button will also appear beside it.

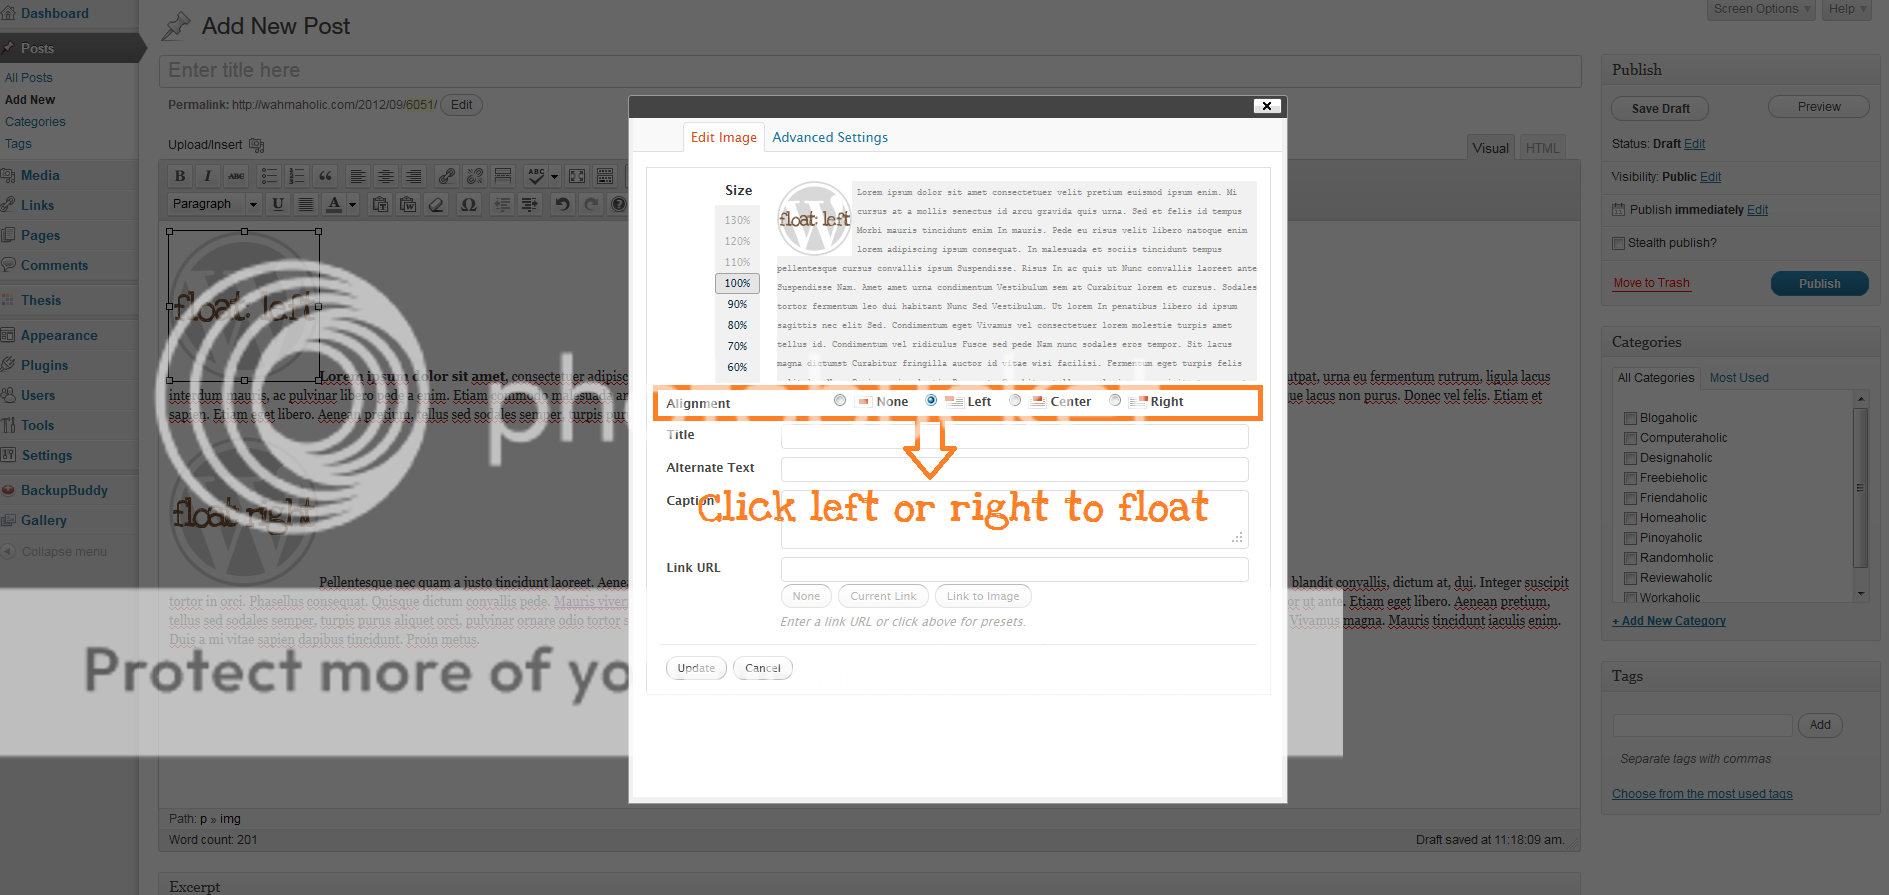
- A pop-up will appear to let you edit your image. Click on Left or Right in the Alignment section, depending on where you want your image to appear.

- Click the Update button in the pop-up so your post will reflect the changes.
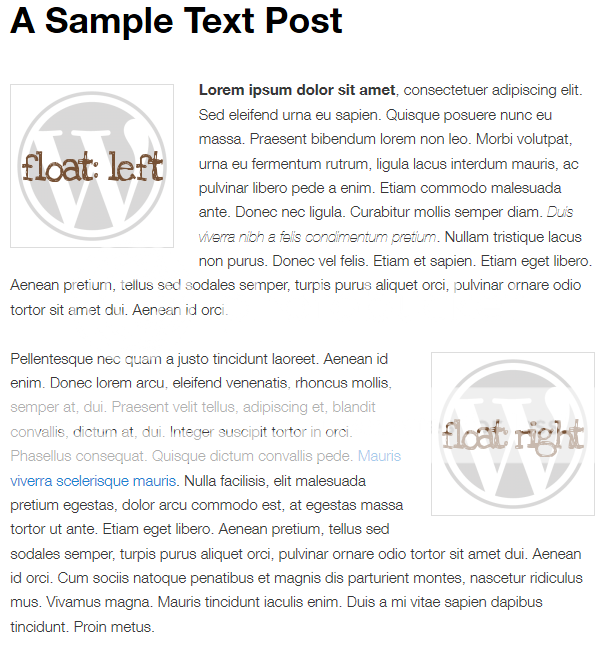
This is how text-wrapped images will appear in your WordPress post:
That’s it! Easy peasy lemon squeezy.

